
Qosium Trial Edition Install Guide
Trying out Qosium yourself gives the best guarantee that the software is suitable for your use case. This guide will walk you through the process of downloading and installing the Trial Edition of Qosium, which takes less than 15 minutes.
Contents
1. Create a Kaitotek Account #
To download Qosium Trial Edition, you’ll need to create an account on our site. Please head to the sign-up page and fill out the sign-up form. Type your email address and company name first. Then, there is a little challenge, whose purpose is to hinder bots from creating accounts. Please read carefully the instructions and then answer the question below.
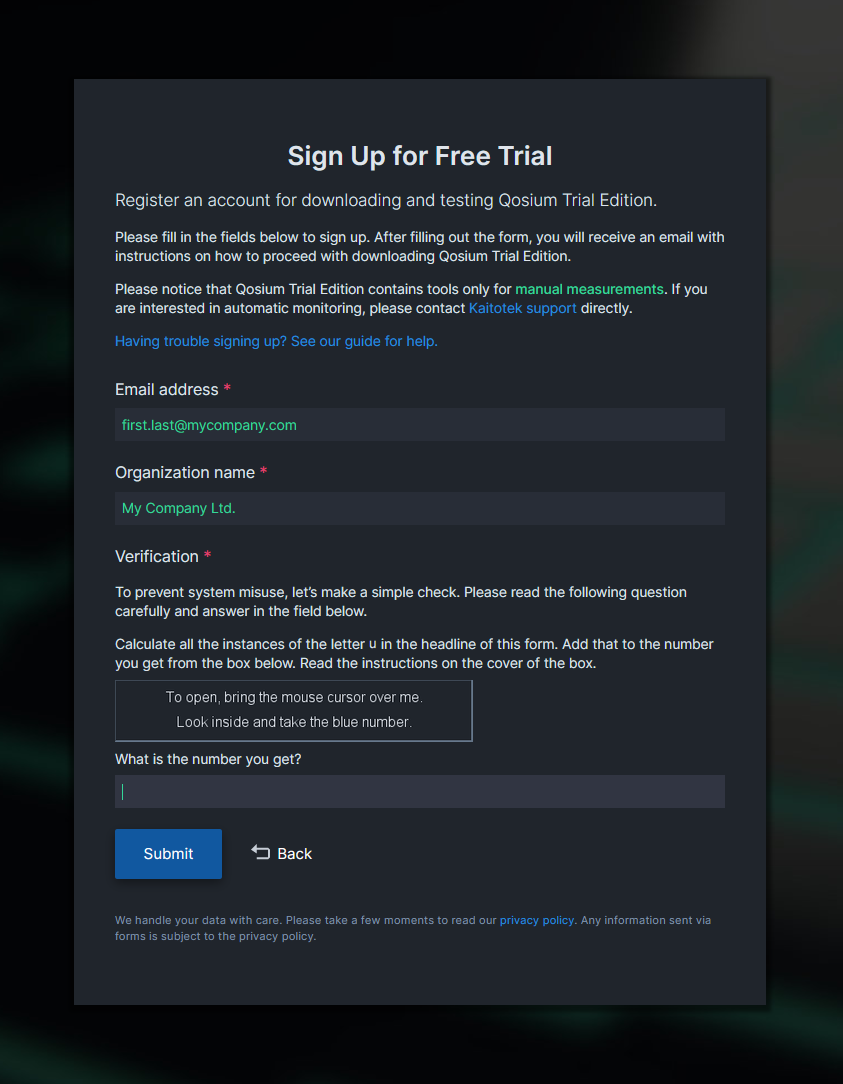
 If you do not wish to disclose the company you are working for, type “Private”. You’ll need to input a valid email address, but you may also use an off-work email address, such as your personal Gmail.
After filling out the fields, press Submit. A following confirmation window appears if everything went smoothly
If the window looks distinctly different, you might have failed to fill the fields correctly. In that case, please try again.
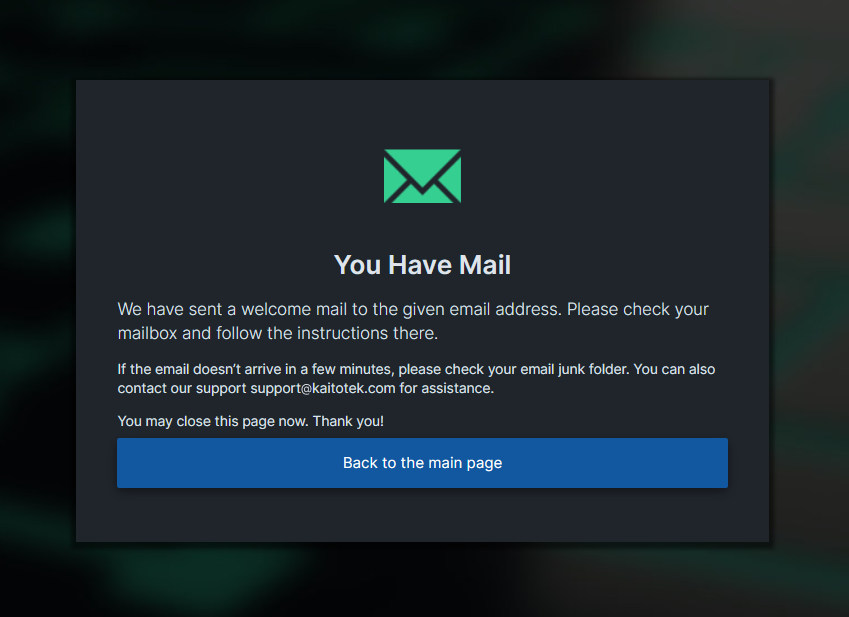
Next, open your mailbox. A welcome email should have arrived, which gives an overview of your new account.
If the email didn’t arrive, refresh your mailbox. Check the junk mail folder as well since some email servers may classify automated emails as spam. If you didn’t receive an email, please contact supportkaitotek.com for assistance.
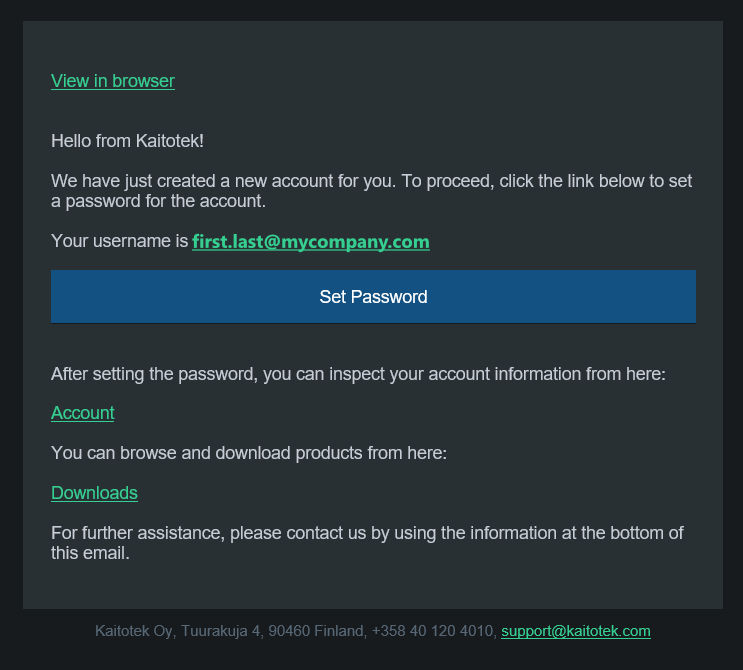
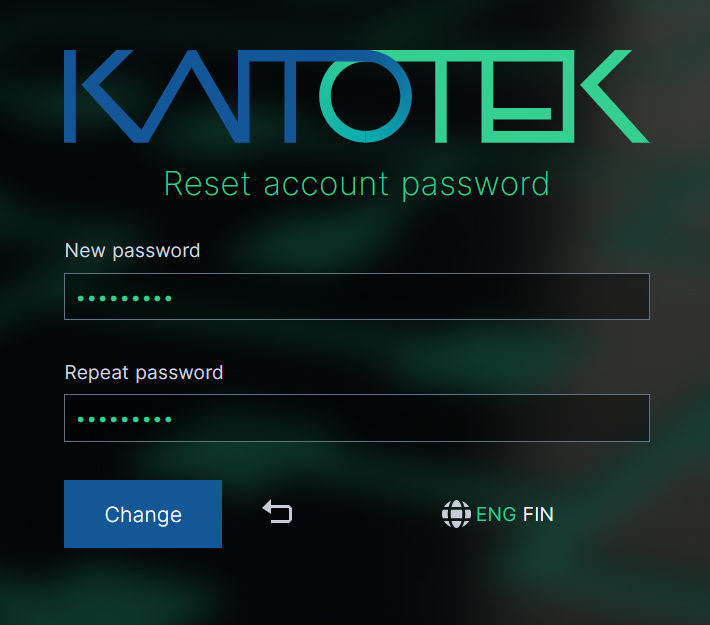
Press Set Password, which takes you to the password reset page. Here you may create a password for your account. Be sure to use a unique, strong password with at least 8 characters. Type the password twice and then press Change.
2. Sign In & Download Installer #
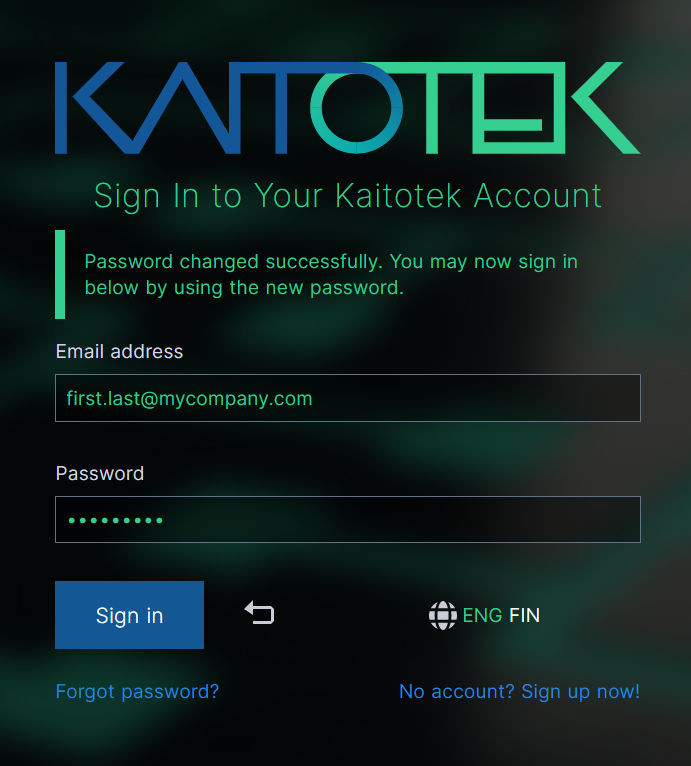
After creating the password successfully, you’ll be redirected to the Sign In page. Type in your email address and the freshly created password, and then press Sign In.
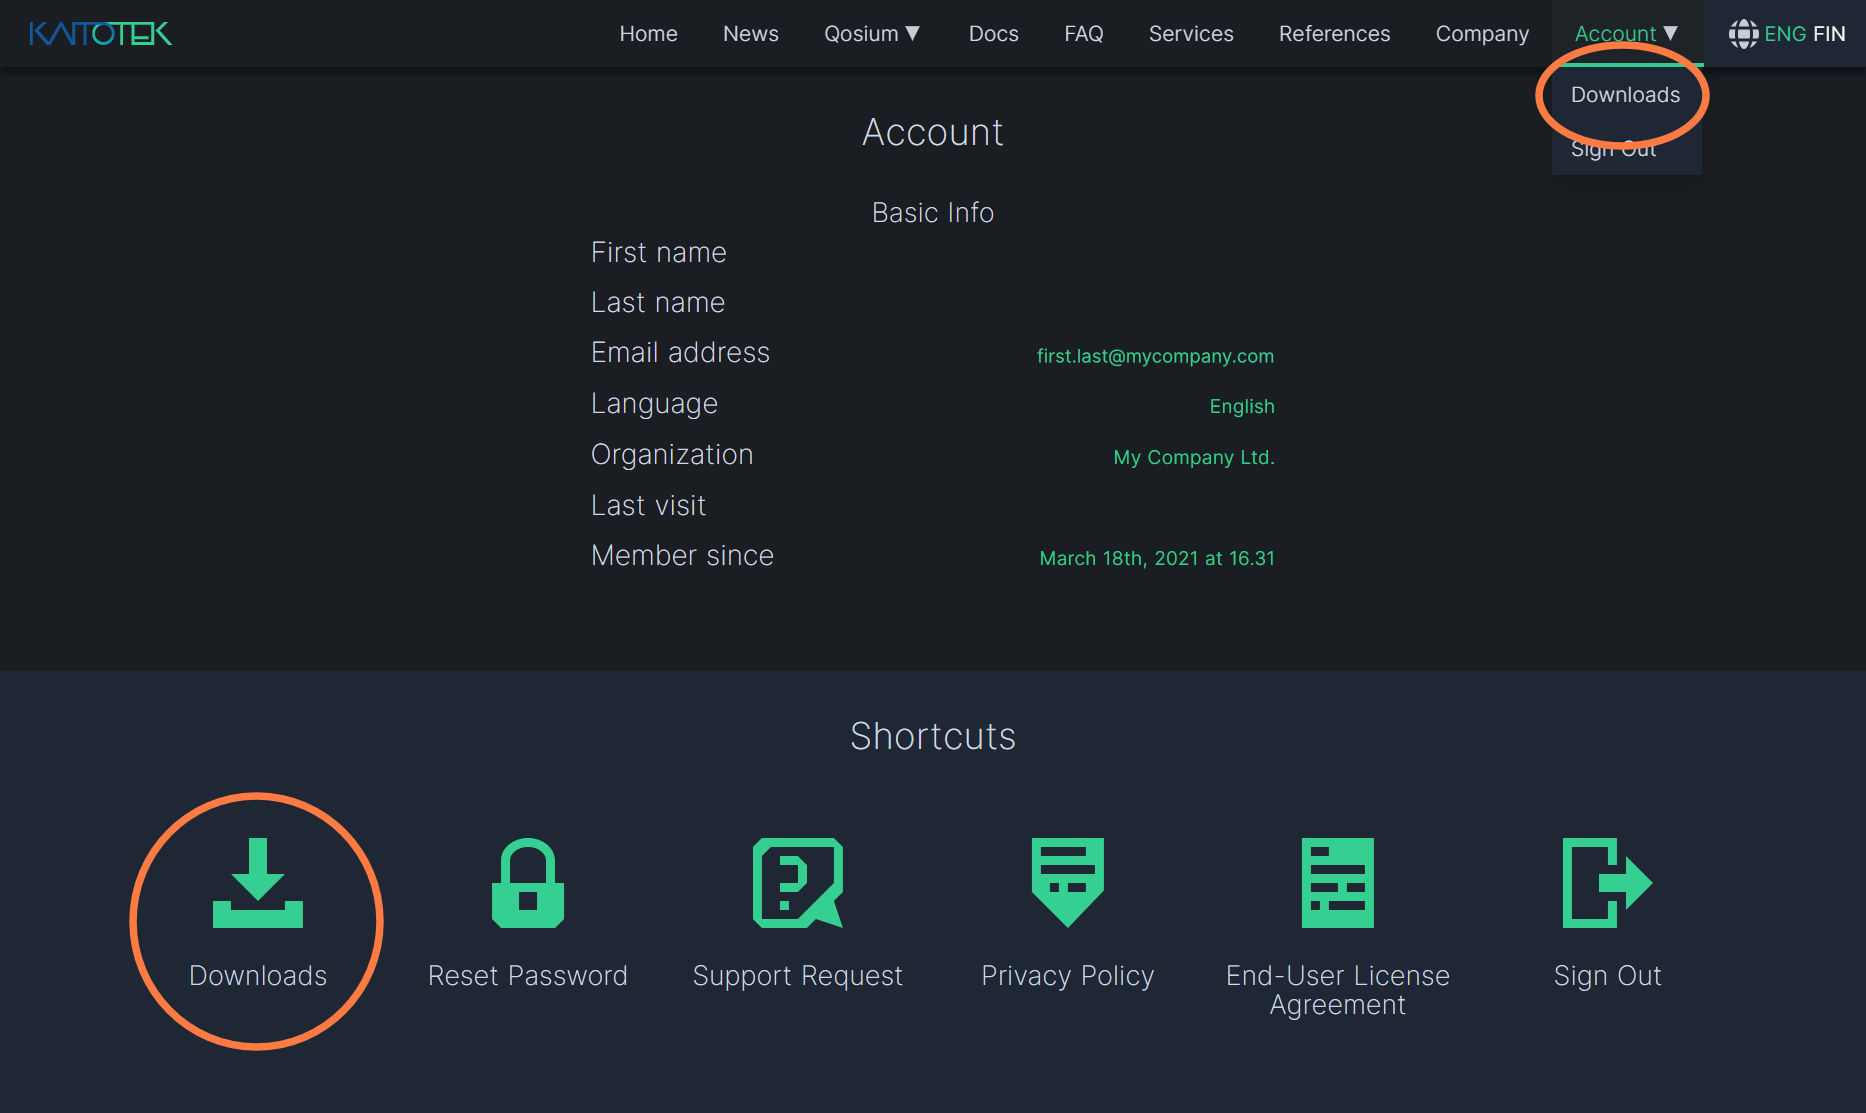
After signing in, you will be redirected to your account page. Continue to the Downloads page either from the top menu or from the account shortcuts.
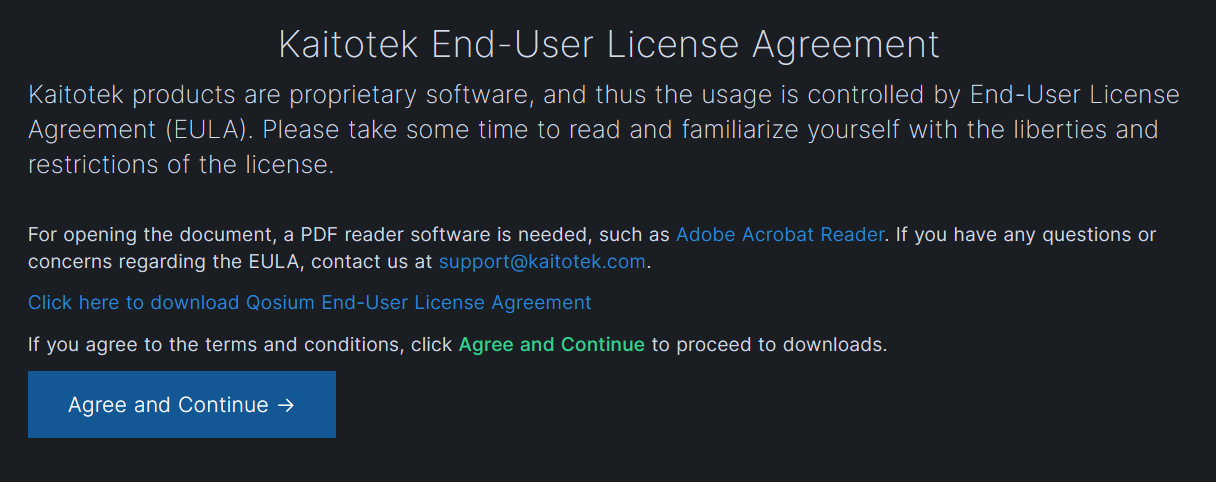
Before downloading Qosium products, you’ll have to accept the End-User License Agreement (EULA). Follow the instructions for reading the EULA, then click Agree and Continue.
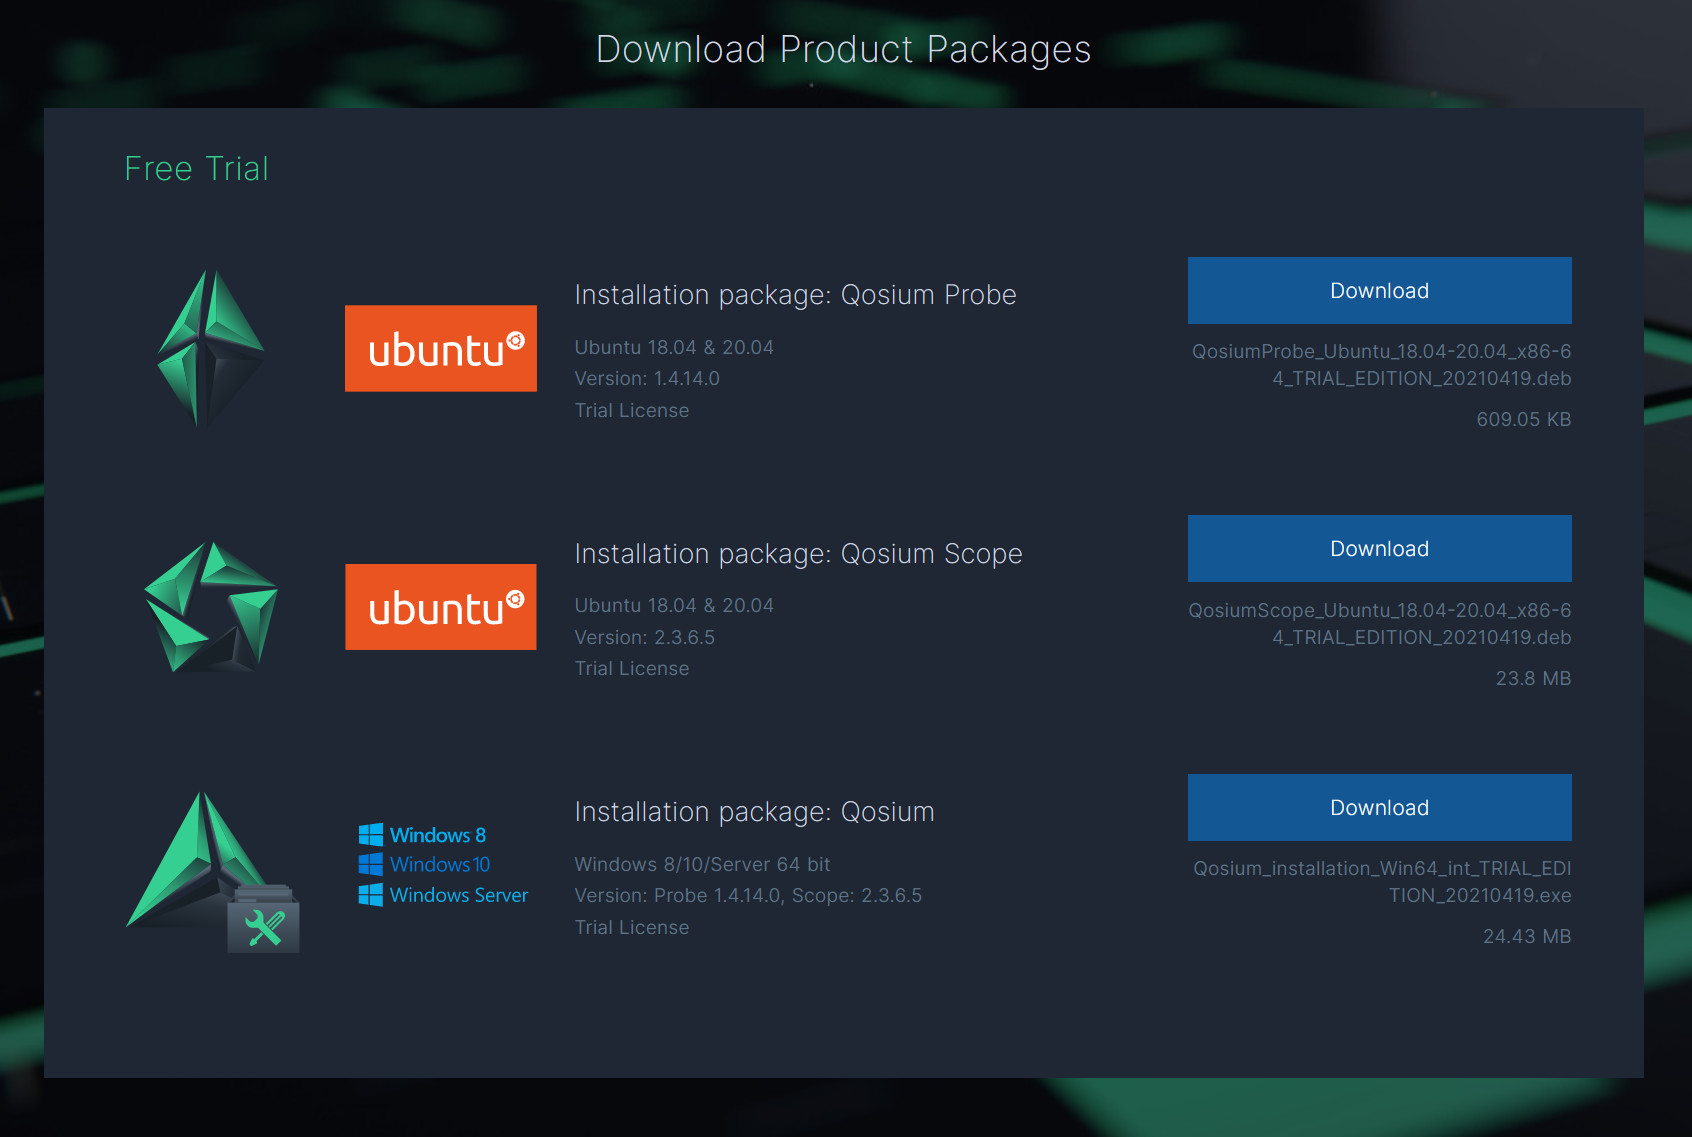
The downloads page lists one product package called Trial Edition, which contains Qosium Trial Editions listed operating systems. Locate the installer with your preferred operating system and press Download. For Windows, a single installer is available, while for Ubuntu you’ll need to download Qosium Probe and Scope separately.
3. Install Qosium Trial Edition on Windows #
Before launching the installer, you’ll need to install a packet capture library if you intend to run Probe in this machine. Follow our guide on installing a packet capture library on Windows.
 It is highly recommended to install a packet capture library before proceeding to install Qosium. The Qosium installer provides some automated configuration for packet capturing, but installing a packet capture library afterward can invalidate these configurations.
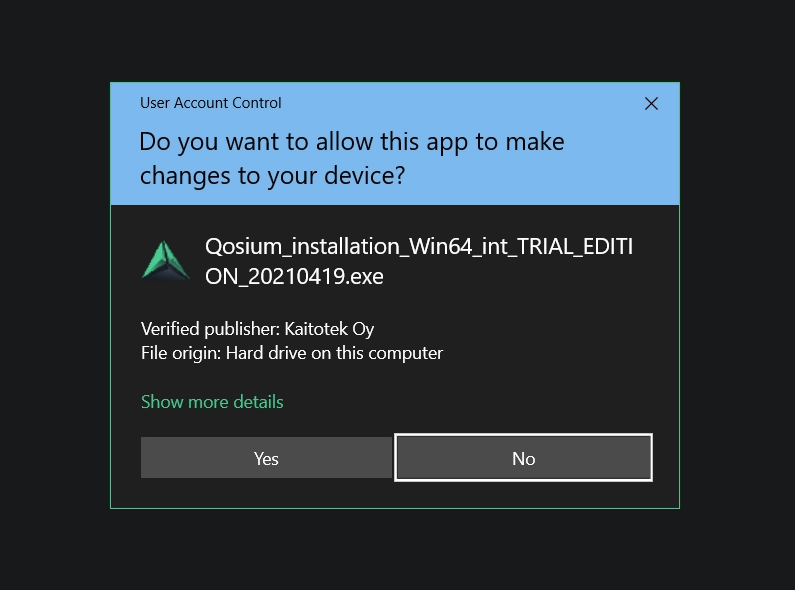
After completing the packet capture library installation, locate and launch the Qosium Trial Edition installer file that you downloaded. After launching, proceed by clicking Yes on Windows User Account Control permission prompt.
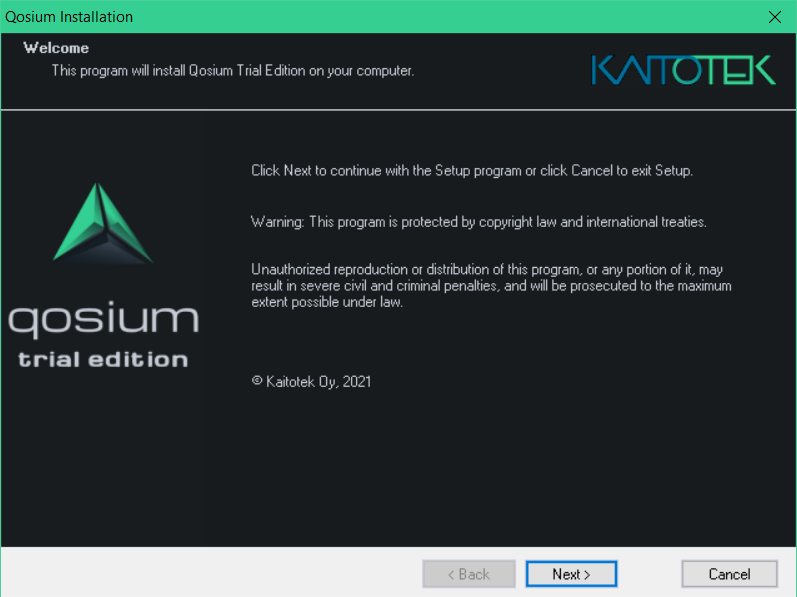
On the first page of the installer, click Next to proceed.
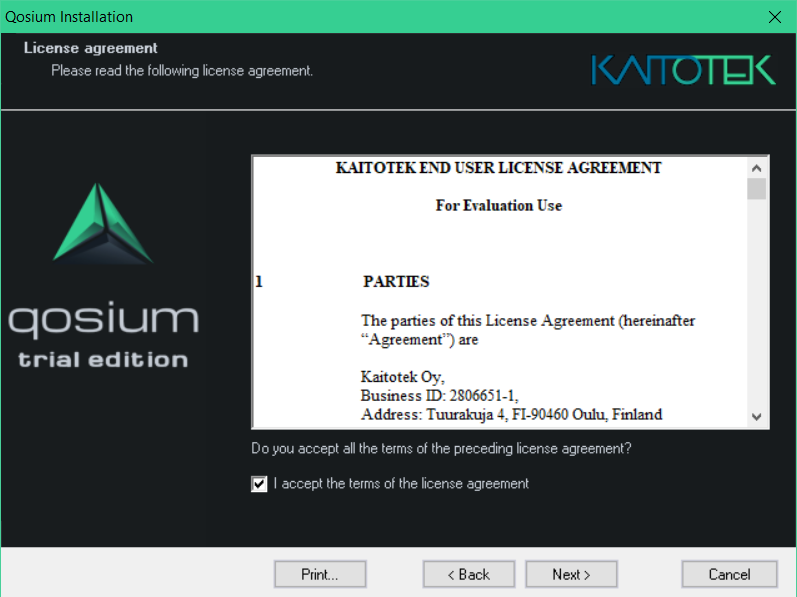
The installer prompts you to accept the End User License Agreement (EULA). If you haven’t yet read the EULA, please take a few minutes to read it thoroughly. Then check I accept the terms of the license agreement and click Next to proceed.
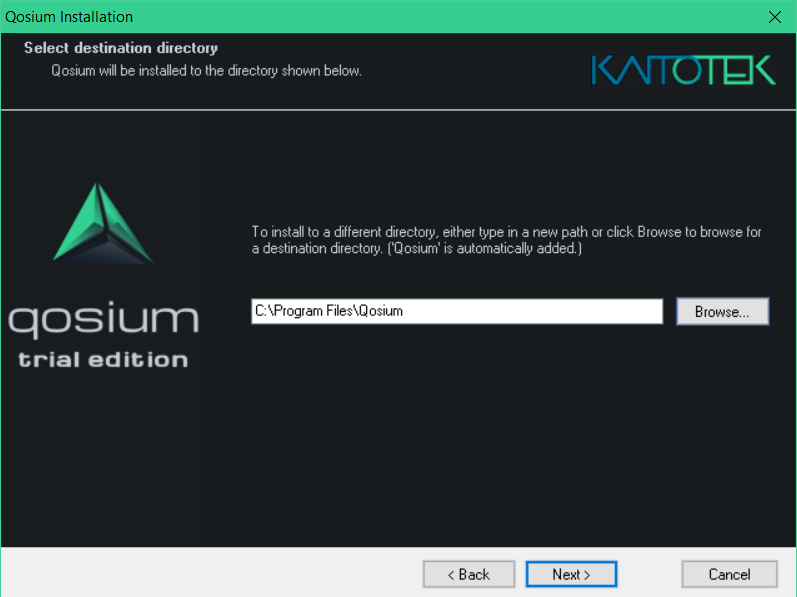
In the next step, you may change the installation directory for Qosium.
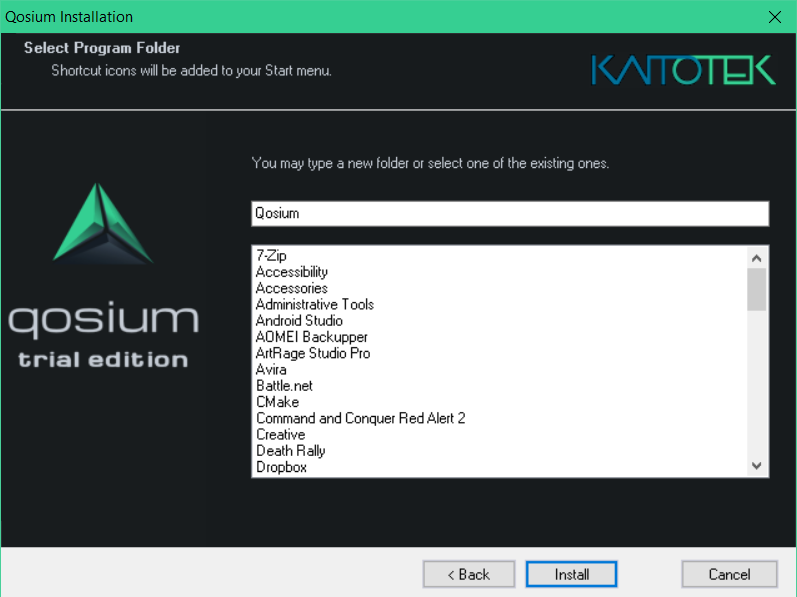
The next step considers the Start Menu shortcuts. It is recommended to leave the settings to default.
During the next step, Qosium will be installed in your system. After the installation process has been completed, you’ll be prompted to automatically set your computer system clock synchronization parameters to optimal settings. If you hadn’t installed Qosium to this computer before or adjusted any synchronization settings before, it is recommended to select Set all for me. Then click Finish.
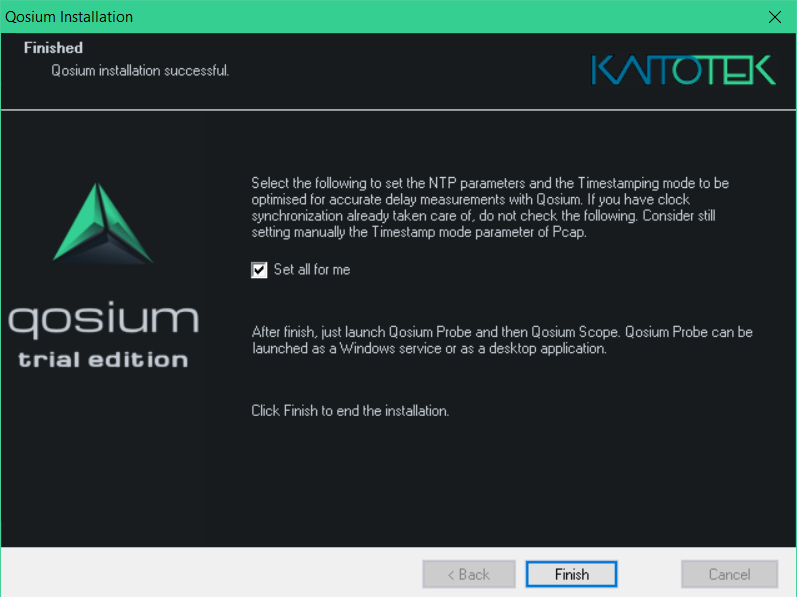
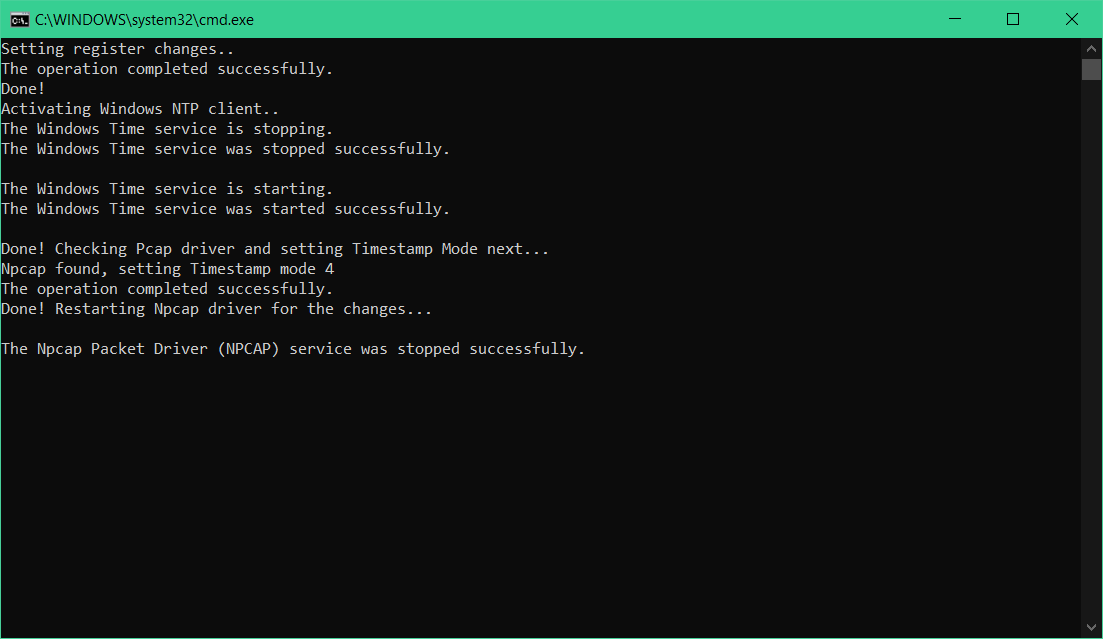
If you selected Set all for me, the installer updates your system with optimal values.
Your installation is now complete. You can find the freshly installed Qosium in the start menu:
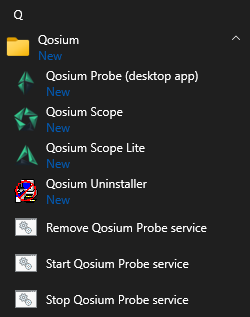
Use Qosium Probe (desktop app) to launch Probe in a command prompt window. Alternatively, select Start Qosium Probe service to set the Probe as an active Windows service. In that way, Qosium Probe is always in the background and starts with your device. To stop it, select Stop Qosium Probe service. To remove it from the Windows’ service list, select Remove Qosium Probe service.
Launch Scope by selecting Qosium Scope from shortcuts. More launch options for Scope can be found here.
4. Install Qosium Trial Edition on Ubuntu #
Qosium Probe and Scope are delivered as a deb software package, which can be installed with both dpkg and apt.
4.1. Qosium Probe Installation #
To install a fresh or upgrade an existing Qosium Probe in a machine, open Terminal and run:
sudo dpkg -i QosiumProbe_<version_details>.debIt is also possible to use apt and apt-get for the installation. These methods also install all dependencies automatically. Qosium Probe has only one external dependency, namely libpcap. Ubuntu typically comes with that library, but if you have made big changes to the operating system libraries and content, it may be useful to use, e.g., apt-get, when the installation happens the following way:
sudo apt-get install ./QosiumProbe_<version_details>.debThe installation process asks all the relevant details, e.g., whether or not to install Qosium Probe as a Systemd service, etc.
4.2. Launching Qosium Probe #
4.2.1. Manual Start #
Run the following command in terminal (use sudo in front of the command if you don’t have superuser privileges):
/opt/QosiumProbe/bin/QosiumProbeProbe can be set in the background by pressing Ctrl-Z and typing bg, or adding & to the end of the command line.
 If you installed Qosium Probe to be a background service, you might have Probe running already, and Probe won’t start. You cannot, and don’t need to, have more than one Qosium Probe instance per machine.
4.2.2. Qosium Probe Installed as Service #
If you installed Qosium Probe as a Systemd service, controlling of Qosium Probe happens with systemctl commands. Qosium Probe is launched automatically upon installation and device startup. Omit sudo from the commands below if you are superuser or sudo is not supported by the operating system.
Start:
sudo systemctl start QosiumProbeStop:
sudo systemctl stop QosiumProbeRequest status:
sudo systemctl status QosiumProbeDisable Qosium Probe from starting automatically upon reboot:
sudo systemctl disable QosiumProbeEnable Qosium Probe to start automatically upon reboot:
sudo systemctl enable QosiumProbe4.3. Qosium Scope Installation #
To install Qosium Scope, open terminal and run
sudo dpkg -i QosiumScope_<version_details>.debSimilarly to Qosium Probe installation, you can also use apt and apt-get to install the Qosium Scope from the deb package.
4.4. Launching Qosium Scope #
After installation, Scope can be launched by executing the following command in the terminal:
/opt/QosiumScope/bin/QosiumScope4.5. Uninstallation of Qosium Probe and Qosium Scope #
To remove Qosium Probe from the machine, run:
sudo dpkg -r qosiumprobeTo remove Qosium Scope from the machine, run:
sudo dpkg -r qosiumscopeSuggested Pages
This tutorial will guide you on how to configure and perform a very simple measurement with Qosium Probe and Scope. Learning this basic tutorial will help you to understand the workflow of Qosium Scope.